Installation planning guide
Know when DIY is realistic, where professional help changes the outcome, and what usually goes wrong.
Quick Answers
What most readers need to know first
Is DIY realistic for most hedge installs?
DIY is realistic for short fence-line installs on stable surfaces with straightforward access and no custom framing.
When does this stop being a DIY project?
It usually stops being DIY when height, structural framing, masonry anchoring, or large-area coordination enters the scope.
What is the biggest DIY risk?
The biggest risk is mounting to an unstable or unsuitable surface, which can shorten lifespan and cause early panel failure.
Decision Snapshot
The shortest practical summary
You are attaching panels to a sound existing fence under 8 feet with simple tools.
The install needs structural framing, high-access work, masonry anchoring, or commercial compliance steps.
Confirm whether your mounting surface and project scope stay inside basic panel attachment.
Artificial hedge panels are designed to be relatively simple to install. That's part of the appeal—compared to planting and growing a real hedge, attaching panels to a fence or wall is fast and doesn't require specialized landscaping knowledge.
But "relatively simple" doesn't mean every project is a DIY job. The difficulty depends on the scale, the height, the mounting surface, and whether you need structural framing. Some installations are genuinely easy weekend projects. Others need tools, experience, and sometimes a crew.
Planning a similar project? See residential privacy installs →.
This article covers what each approach involves so you can make the right call for your project.
Decide in the right order
Timeline
How to decide in the right order
Planning a similar project?
Use these next pages while you read
They cover pricing, service details, and the next planning step without making you leave the article blind.
Use this order so you do not buy materials before checking constraints that can force a redesign.
- Step 1
Validate the mounting surface first
Inspect fence or wall condition before any measurements. Fix structural issues before panel planning.
- Step 2
Confirm constraints before ordering
Check HOA rules, local height limits, and warranty requirements before locking in attachment methods.
- Step 3
Match scope to labor path
Decide between DIY, hybrid help, or full-service install based on height, framing, and total run length.
- Step 4
Sequence tools, materials, and install day
Only after scope is clear should you finalize panel quantities, fasteners, and installation schedule.
When DIY makes sense
Simple fence-line installations
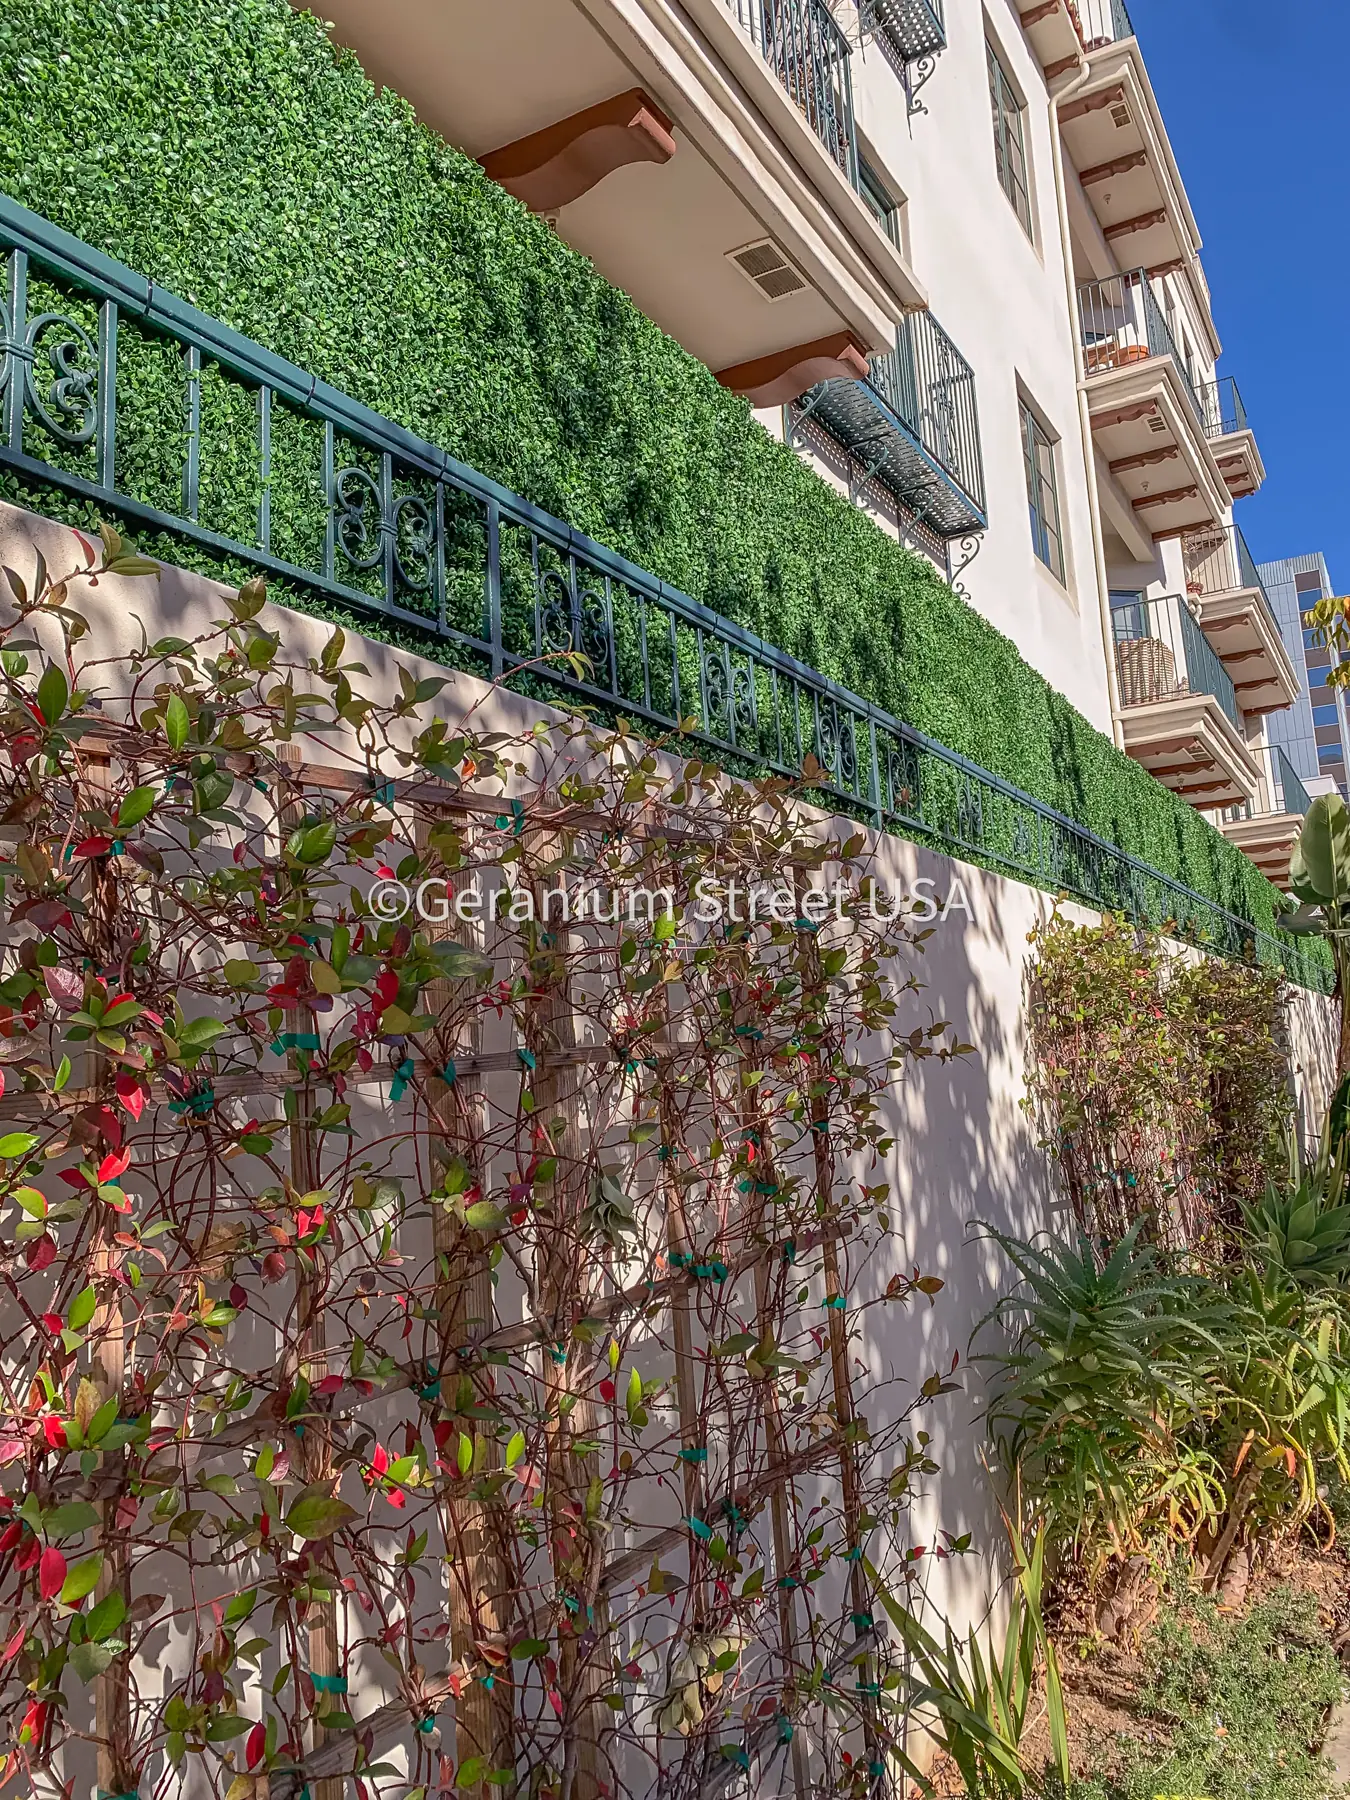
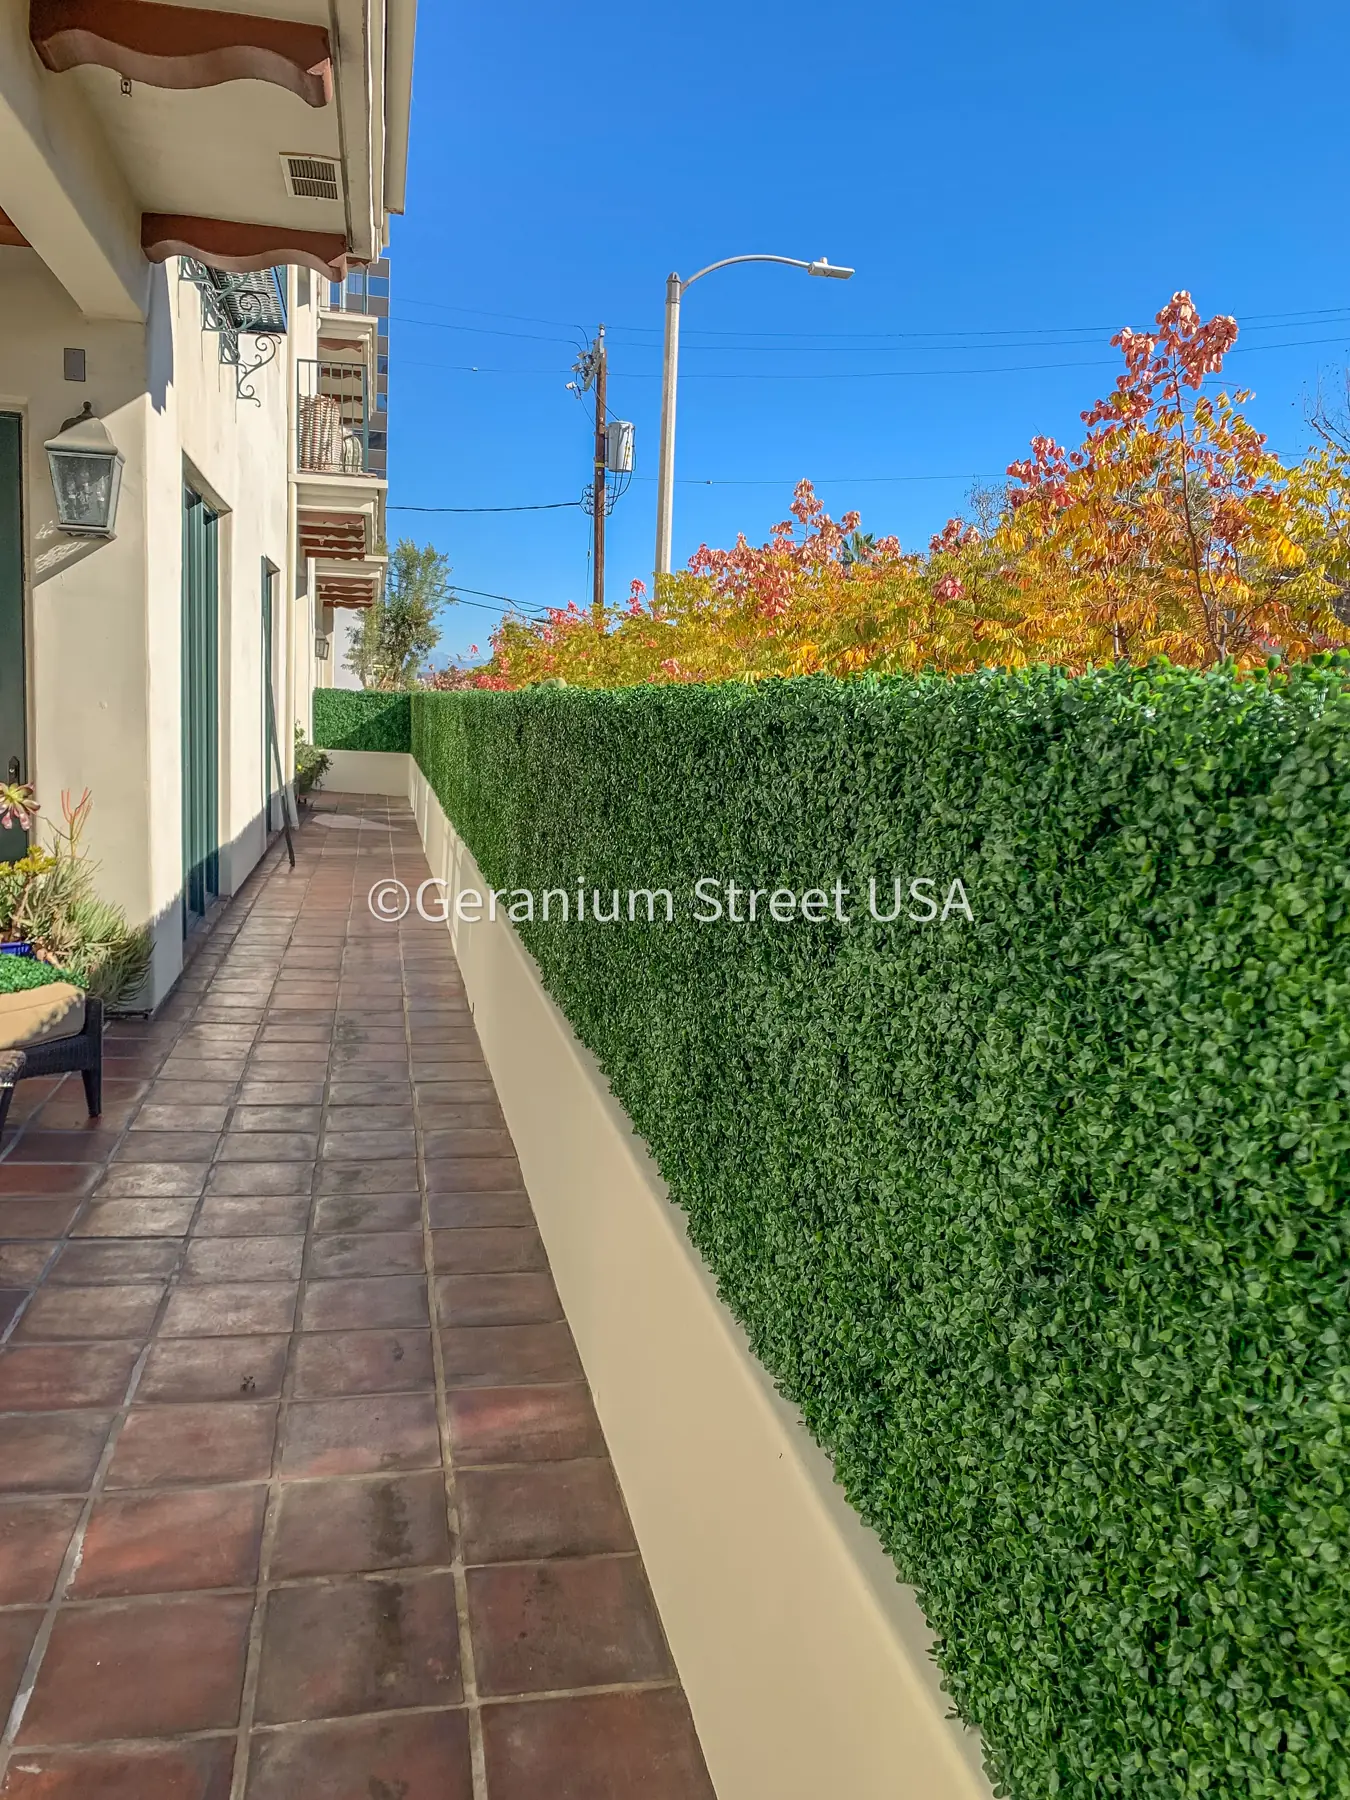
The most common DIY project: attaching artificial hedge panels to an existing fence for privacy or appearance. If your fence is in good shape and you're covering a manageable section, this is a straightforward job.
What's involved:
- Measure the fence area to determine how many panels you need
- Attach panels to the fence using UV-rated zip ties, clips, or stainless steel screws
- Align panels so the seams are tight and the foliage overlaps the edges
- Trim any excess with a utility knife where panels meet corners or posts
This works well on:
- Wood privacy fences — screws or zip ties through the panel backing into the fence boards
- Chain-link fences — zip ties through the panel backing and around the chain-link mesh
- Wrought iron or aluminum fences — zip ties around the vertical bars
Fence toppers for added height
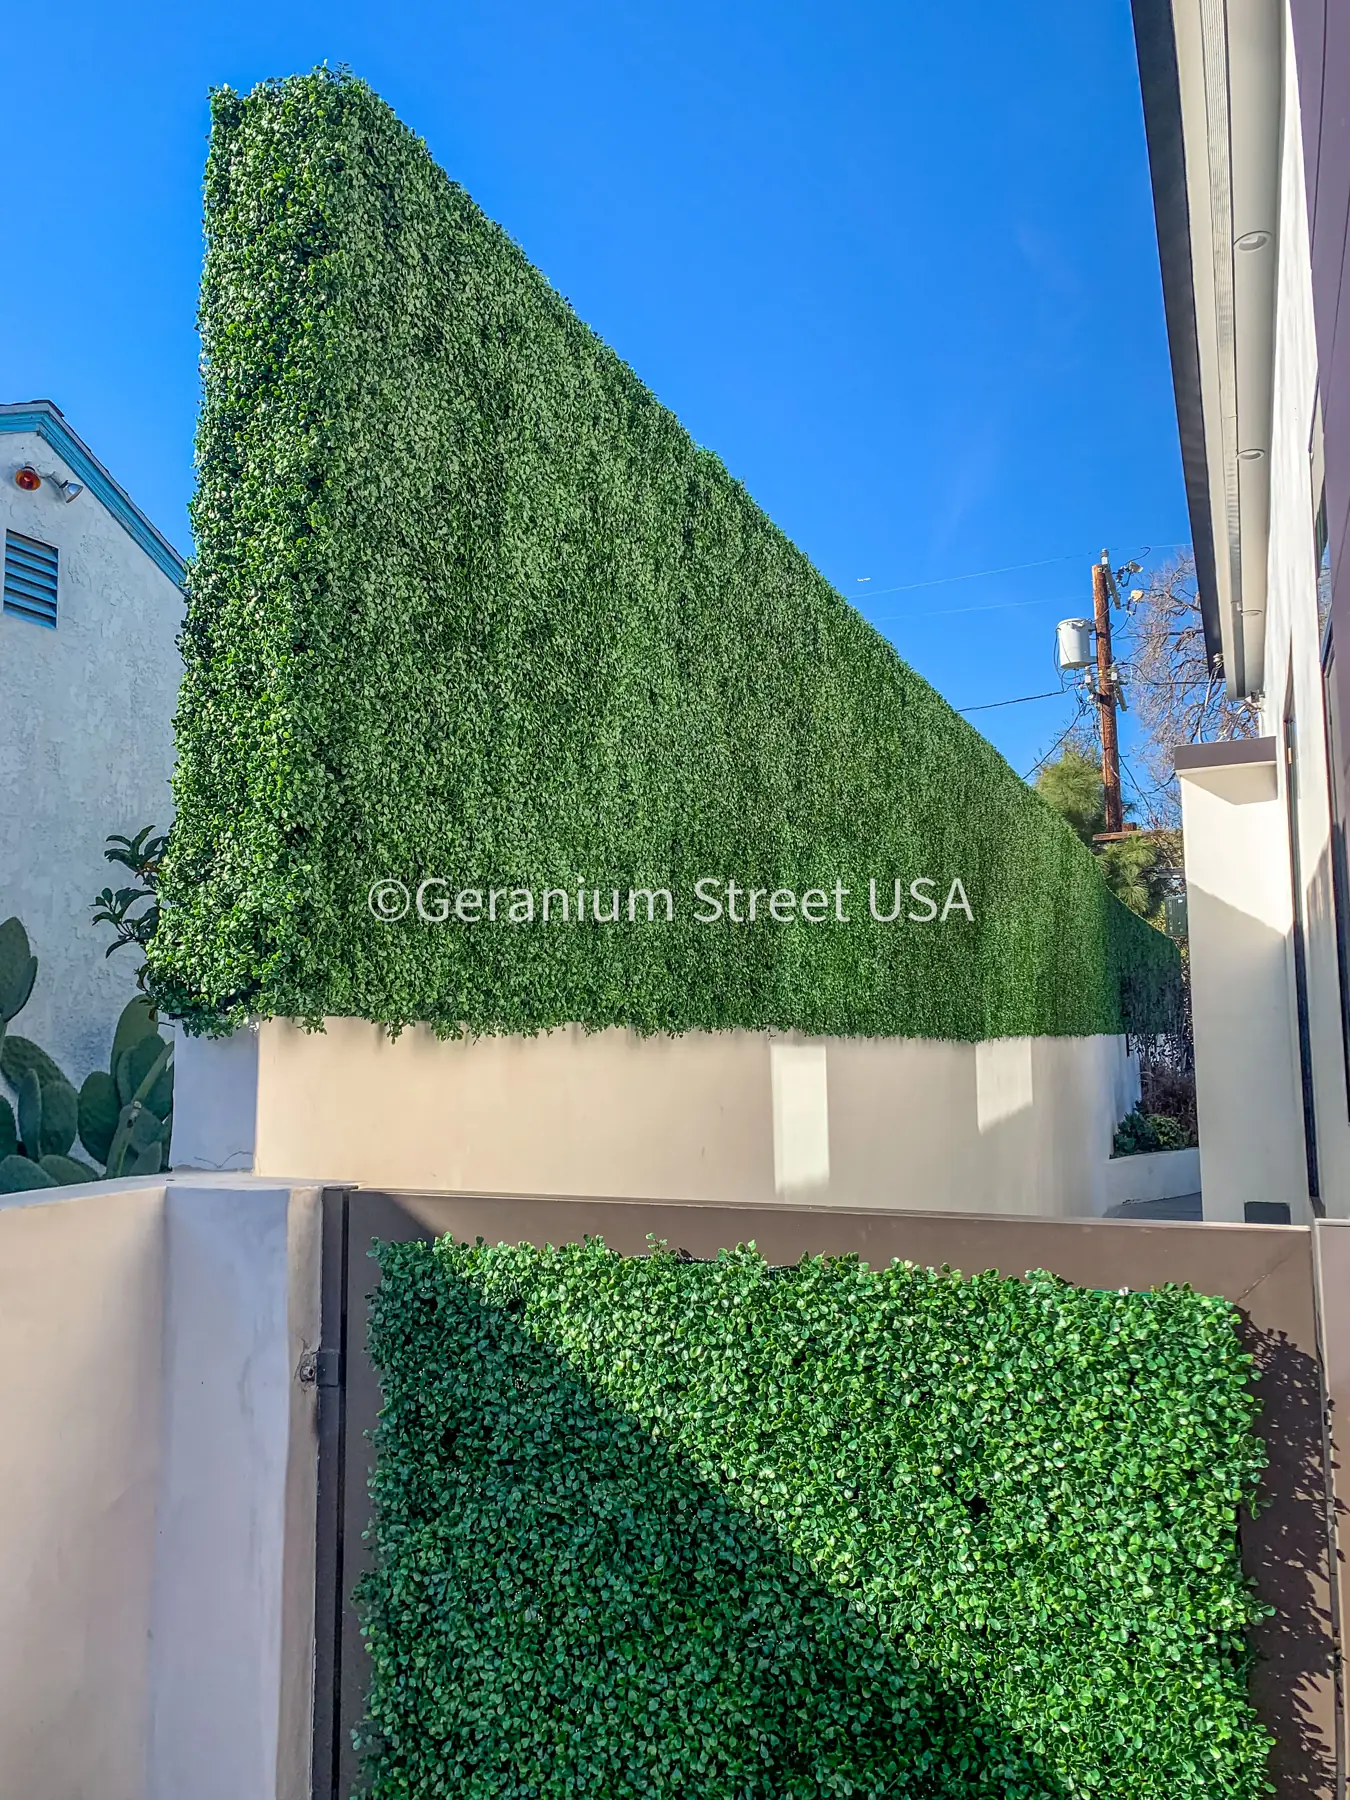
Adding a hedge topper to extend fence height is also manageable for DIY. The panels attach to the top rail or posts of the existing fence. The main challenge is working at height—you'll need a stable ladder and ideally a second person to hold panels in place while you fasten them.
Check your city's fence height ordinance and HOA rules before adding height. See our HOA approval guide for the process.
Small accent sections
A single wall section, a small privacy screen behind a seating area, or panels covering a utility area—these are manageable DIY projects if the mounting surface is accessible and you don't need structural framing.
When to hire a professional
Large-scale installations
If you're covering 100+ linear feet of fence, an entire backyard perimeter, or multiple walls, the project becomes a volume job. Professional crews work faster, align panels more consistently across long runs, and handle the logistics of large material orders.
Tall or hard-to-reach surfaces
Any installation above 8 feet requires scaffolding or lift equipment. Working on ladders with panels, tools, and fasteners is slow and creates safety risk. Professional installers have the equipment and the experience to work at height efficiently.
Freestanding privacy walls
A freestanding hedge wall—one that's not attached to an existing fence—needs a structural frame. That means posts (often steel or aluminum), footings (concrete or driven posts), and a horizontal frame to mount panels onto. This is closer to fence construction than panel attachment, and it benefits from someone who builds structures for a living.
Commercial and multifamily projects
Commercial installations add layers: fire-rated product requirements, coordination with building management, work-hour restrictions, larger crews, and documentation. For commercial projects, see our fire-rated greenery guide.
Damaged or unstable mounting surfaces
If the fence you're planning to mount panels on is leaning, rotting, or structurally compromised, the panels will mirror those problems. A professional can assess whether the fence needs repair or replacement before the hedge goes on—and handle both jobs.
Masonry and stucco walls
Mounting panels to concrete, brick, or stucco walls requires drilling into masonry, using appropriate anchors, and potentially installing a mounting grid or furring strips. This is doable for a handy homeowner, but the tools and technique are more involved than fence attachment.
Tools and materials for DIY installation
Basic fence-line installation
- UV-rated zip ties (black, 12-inch or longer) — the most common attachment method for fences. UV-rated is critical; standard nylon ties become brittle in Texas sun within a year.
- Stainless steel screws (alternative to zip ties) — more permanent, but requires a drill and pre-drilling through the panel backing.
- Wire cutters — for trimming zip tie tails.
- Drill/driver — if using screws.
- Tape measure — for planning panel layout and ensuring consistent alignment.
- Level — for keeping the top edge straight across long runs.
- Utility knife — for trimming panels at corners, posts, or irregular sections.
- Step ladder — for reaching the top of 6-foot fences.
- Work gloves — the backing grids can have sharp edges.
Frame-mounted installation (more involved)
All of the above, plus:
- Steel or aluminum posts and horizontal rails — the structural frame.
- Post hole digger or post driver — for setting posts.
- Concrete mix — for post footings (if not using driven posts).
- Saw (hacksaw for metal, circular saw for wood) — for cutting framing to length.
- Self-tapping screws or bolts — for attaching panels to the metal frame.
Common DIY mistakes
Not checking the fence first. Panels attached to a leaning or rotting fence will look bad and may pull away. Walk the fence line and fix problems before you start attaching panels.
Using standard zip ties. Regular zip ties snap in Texas heat within months. Use UV-rated (black) zip ties or switch to screws.
Ignoring panel alignment. Rushing through attachment creates visible seams, uneven top edges, and gaps between panels. Take the time to align each panel with its neighbor before fastening.
Pulling panels too tight. Panels need a small amount of give for thermal expansion. If you fasten them too rigidly, they can buckle in heat. Leave a slight gap at the edges.
Forgetting about access. Don't cover hose bibs, electrical panels, cleanouts, or gates without planning for access. Build in a removable section or leave a gap.
Mounting flush to the surface. Panels mounted tight against a wall or fence with no air gap can trap heat and moisture. Even a small standoff helps with ventilation and prevents moisture buildup against the mounting surface.
Not planning for corners. Corners require panels to be trimmed and overlapped or mitered. If you don't plan for this, corners end up looking sloppy. Measure and test-fit before fastening.
What professional installation includes
When you hire a professional, the scope typically includes:
- Site assessment — evaluating the mounting surface, measuring the area, identifying obstacles and access points
- Material procurement — ordering the correct quantity with overage for cuts and waste
- Structural work (if needed) — building frames, setting posts, repairing fences
- Panel installation — attachment, alignment, trimming, and finishing
- Cleanup — removing packaging, fastener debris, and trimmed material
- Documentation — for commercial projects, providing spec sheets, fire test reports, and installation records
Professional installations also typically come with a workmanship warranty covering the installation itself (separate from the product manufacturer's warranty on the panels).
How to decide
Ask yourself these questions:
- Is the mounting surface in good condition? If yes, DIY is feasible. If it needs repair or replacement, consider a professional.
- Is the installation under 8 feet tall? If yes, a ladder handles it. If taller, you likely need equipment.
- Is it a simple fence attachment or does it need framing? Fence attachment is DIY-friendly. Structural framing is professional territory for most homeowners.
- How much area are you covering? A single fence section is a weekend project. An entire perimeter is a bigger commitment.
- Is this a commercial project? If fire-rated documentation, permits, or building management coordination is involved, go professional.
- Are you comfortable with the tools? If you own a drill and have done basic home projects, fence-line installation is within reach.
Three practical installation paths
Path Cards
Three practical installation paths
These paths help you choose execution style based on risk, complexity, and time.
Path 1: Full DIY panel attachment
Best for short, reachable fence runs where attachment is straightforward and no structural changes are required.
Best for: Homeowners comfortable with measuring, aligning, and fastening panels.
Path 2: Hybrid install
Handle preparation and simple sections yourself, then bring in pros for framing, masonry, or high sections.
Best for: Projects that are mostly simple but include one technical risk area.
Path 3: Professional install
Use a professional crew end-to-end when the project includes scale, elevation, structural work, or compliance needs.
Best for: Large perimeters, commercial settings, or installs where rework risk is expensive.
Related articles
This article is part of our complete guide to artificial hedges in Texas, which covers types, materials, climate performance, costs, and more.
You might also find these useful:
- How long do artificial hedges last in Texas heat?
- Pool privacy solutions: artificial hedges for Texas backyards
For product options, see our artificial hedge page or fence extensions page. For professional installation, see our installation page.
FAQ
Can I install artificial hedges myself?
Yes, for straightforward fence-line installations. If you are attaching panels to an existing fence using zip ties, clips, or screws, the work is manageable for most homeowners with basic tools. Larger projects, structural frames, tall walls, and commercial installations benefit from professional installation.
What tools do I need to install artificial hedge panels?
For a basic fence-line installation: UV-rated zip ties or stainless steel screws, wire cutters or a drill, a tape measure, a level, a utility knife for trimming panels, and a step ladder if the fence is tall. For frame-mounted installations, you may also need a post driver, concrete mix, and a saw for cutting framing material.
How long does it take to install artificial hedges on a fence?
A single fence panel section (roughly 20 by 20 inches) takes 10 to 20 minutes for a first-timer. Speed increases as you get the hang of alignment and attachment. A 50-foot fence line at 6 feet tall might take a full day for one person working alone, including setup, alignment, and cleanup.
Will a bad installation void the product warranty?
It depends on the manufacturer's terms. Some warranties require professional installation or specific mounting methods. Others cover the product regardless of who installs it. Check the warranty before starting and follow the manufacturer's installation instructions to avoid issues.
Truthfulness Check
What To Verify
- Confirm the mounting surface is stable enough for long-term attachment before buying materials.
- Verify whether warranty coverage depends on approved fastening methods or professional installation.
- Define the threshold where scope leaves DIY territory, especially for framing, masonry, and elevated work.
Where to go next
Choose the next page that fits your project
Need a next step?
Planning a similar Texas project?
Use this article for research, then send your dimensions, city, and photos if you want a useful next step.
Ready for the next step?
Use the page that fits your project best
Pick the shortest path based on whether you need pricing, a service page, or a local planning page.